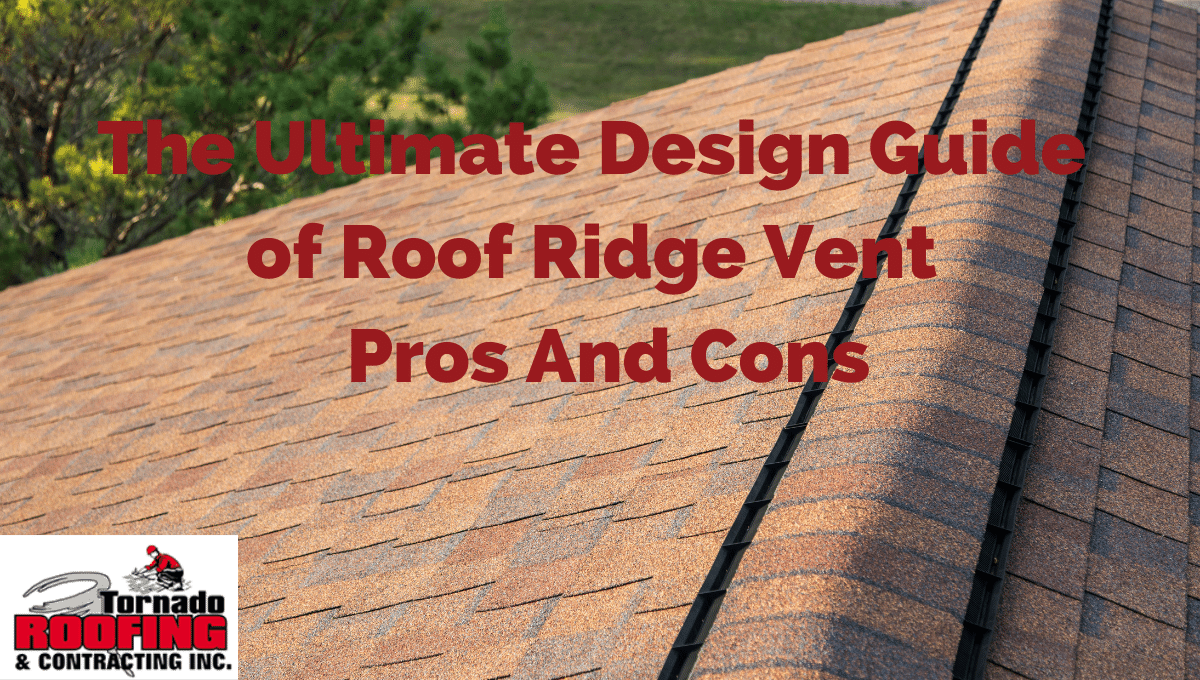
The Ultimate Design Guide of Roof Ridge Vent – Pros And Cons
If you are struggling with the cost of cooling your Florida home, there is help. Roof ridge vents are a popular choice to help cool the house naturally, without relying as heavily on an air conditioner. As with all roofing options, there are pros and cons. Let’s dive into what they are and if you need a roof ridge vent on your roof.
What is a Ridge Vent on a Roof?
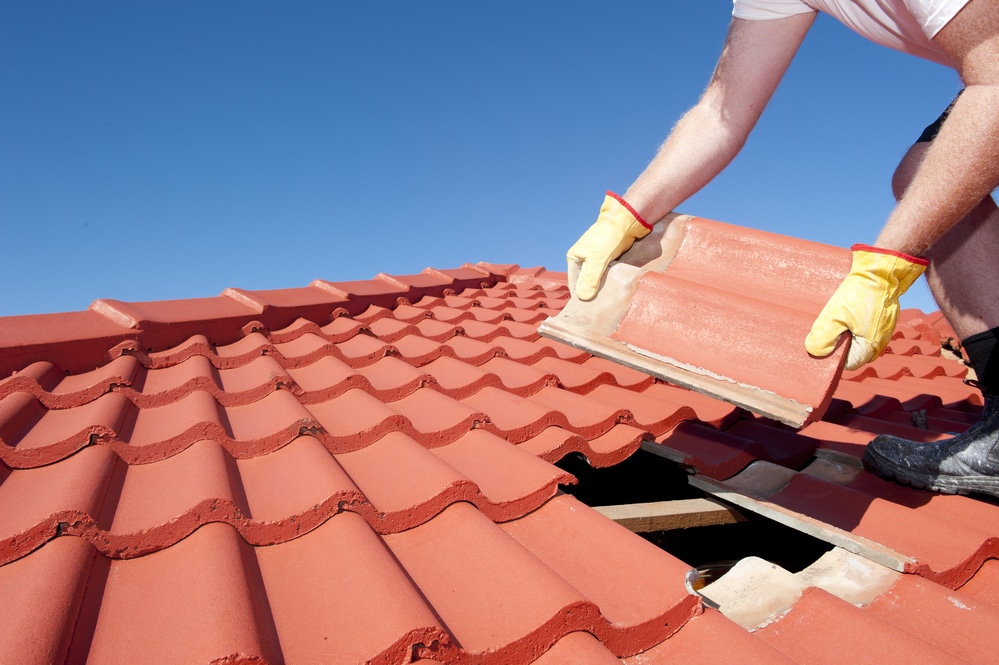
A roof ridge vent is a fixed ridge vent installed on a roof’s ridge. The point of installing a ridge vent on a roof is to ensure proper air ventilating within the building. Once a roof ridge vent is installed, it’s usually covered with shingles to match the surrounding roof. A good installer will ensure that the area where the vent is placed is practically indistinguishable from the surrounding roof.
Pros
1. They balance out the temperature of the home.
When you have a new home built or replace a roof, installing a ridge vent helps balance hot and cold air transfer. You’ll always find the upstairs and attic to be warmer in the summer months, no matter how strong your air condition systems are, because of how hot air rises. Because vents are installed on the roof, the warmer air can naturally escape the home, balancing below temperatures.
2. The design of a roof ridge vent works with the look of your home.
Roof ridge vents offer a sleek design that is difficult to notice from ground level. The pitch of your structure remains unaffected by this design element. If you have enough intake, it is possible to install them along every ridge of your roof, which provides your home with a maximum level of ventilation.
3. Rodents can’t get into your attic through roof ridge vents.
Squirrels, rats, raccoons, and other pests all love to try getting into your home whenever there is a point of access. If you use the older style of roof vent to provide air circulation, you must install traps or blockage points that prevent them from nesting in your attic’s insulation. This protection feature reduces the amount of air that moves, which defeats the purpose of the older designs in the first place.
4. It allows air to move out of the attic naturally.
The wind that blows over your roof will help draw the hot, moist air out of your attic when roof ridge vents are installed correctly. This happens because of the change in air pressure. The inside air moves through the ridge vest underneath the cap shingle to escape from the side and into the general atmosphere. You can then draw fresh air into the underside of the vent, which freshens the home environment.
5. Roof ridge vents can reduce indoor air pollution levels.
The average person spends about 90% of their time indoors each day. About two-thirds of that time happens at home. The only problem with this lifestyle is that your indoor air quality can be up to 5 times worse than the outside air. There are some homes where the indoor air quality is 100 times worse.
6. They don’t need to be used with other systems.
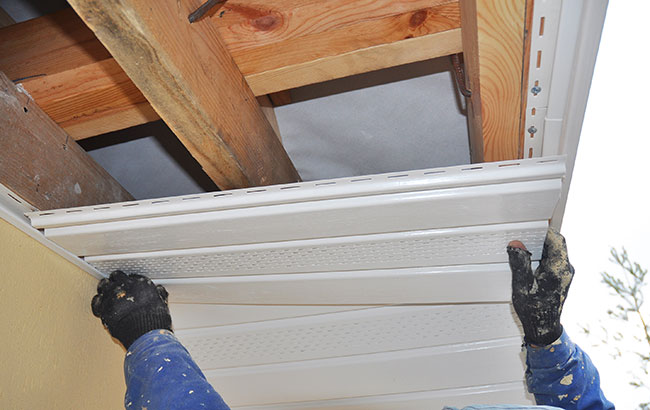
Roof ridge vents work well when soffit vents or box vents help draw air into the attic. You will also discover that this product can work by itself to release moisture from the house. That means you have a lower risk of mold or mildew development.
7. Weather doesn’t affect a roof ridge vent.
This product is designed to work all year, every year, to provide adequate ventilation for your home. Because it blends in well with the roof, the weather changes in your geographic location have less of an impact on it. You’ll be able to move air throughout the attic without the use of fans or turbines when enough space is given to this vented design.
Cons
1. Ridge vents don’t always provide the proper ventilation in some homes.
The effect of ridge vents on the roof depends upon the energy-efficient nature of the structure. It would be best to move air toward the vents to make it an effective solution. If the rest of the home does not receive circulation, this option will not work as intended. Some older homes still need to have the older-style vents installed to give them the necessary ventilation levels.
2. There is a chance that they could leak water during heavy rains.
Some homes are in the path of storms where the wind strikes the roof so that rain blows in the right through the vents. If you find yourself in this situation, you must frequently inspect your attic for water damage. The only way to prevent the issue is to take the vents out, replacing them with a product that offers a more water-tight experience for your roof. If you have insulation in your attic, then the dampness caused in this situation creates even more challenges to face as a homeowner.
3. The initial cost of roof ridge vents is usually higher.
Roof ridge vents provide a costly system of ventilation that may not be suitable for the checkbooks of some homeowners. This option might be the updated system most newer homes use, but you might need the soffit vents if you have an older home. Expect the installation of a ridge vent to run about $500 on average if you’re not touching the rest of the roof. Complete replacement may be over $1,000 on some roofing types.
4. You must install it at the peak of your roof.
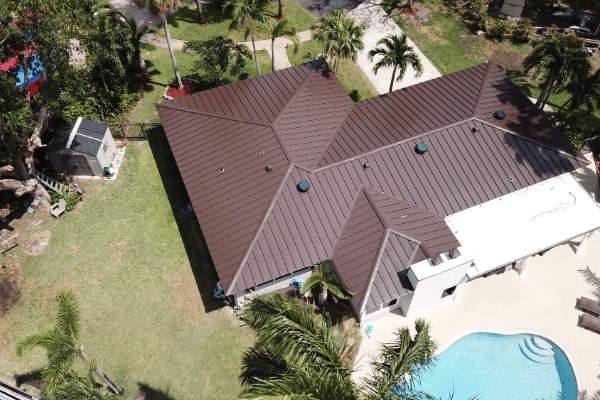
If your home has a flat roof, you will not benefit from using a roof ridge vent. This product works best on homes with a slanted pitch to the top – but not too steep, of course. The shape of the roof impacts how much air comes through the system, which means this vent must always be placed at the peak of the roof along your ridges. You may opt only to have one ridge utilized for a vent if there are multiple options on your roof, but that can also reduce this system’s effectiveness.
Roof Ridge Vent Pros and Cons Final Thoughts
A roof vent can save you up to 70% in maintenance and replacement costs in the long run. Not to mention the fact that you can extend the life on your roof by over double its life expectancy just by having a proper ventilation system installed on your home. We have experts on hand day and night to take your call if you’re interested in having your roof properly ventilated.


