Table of Contents
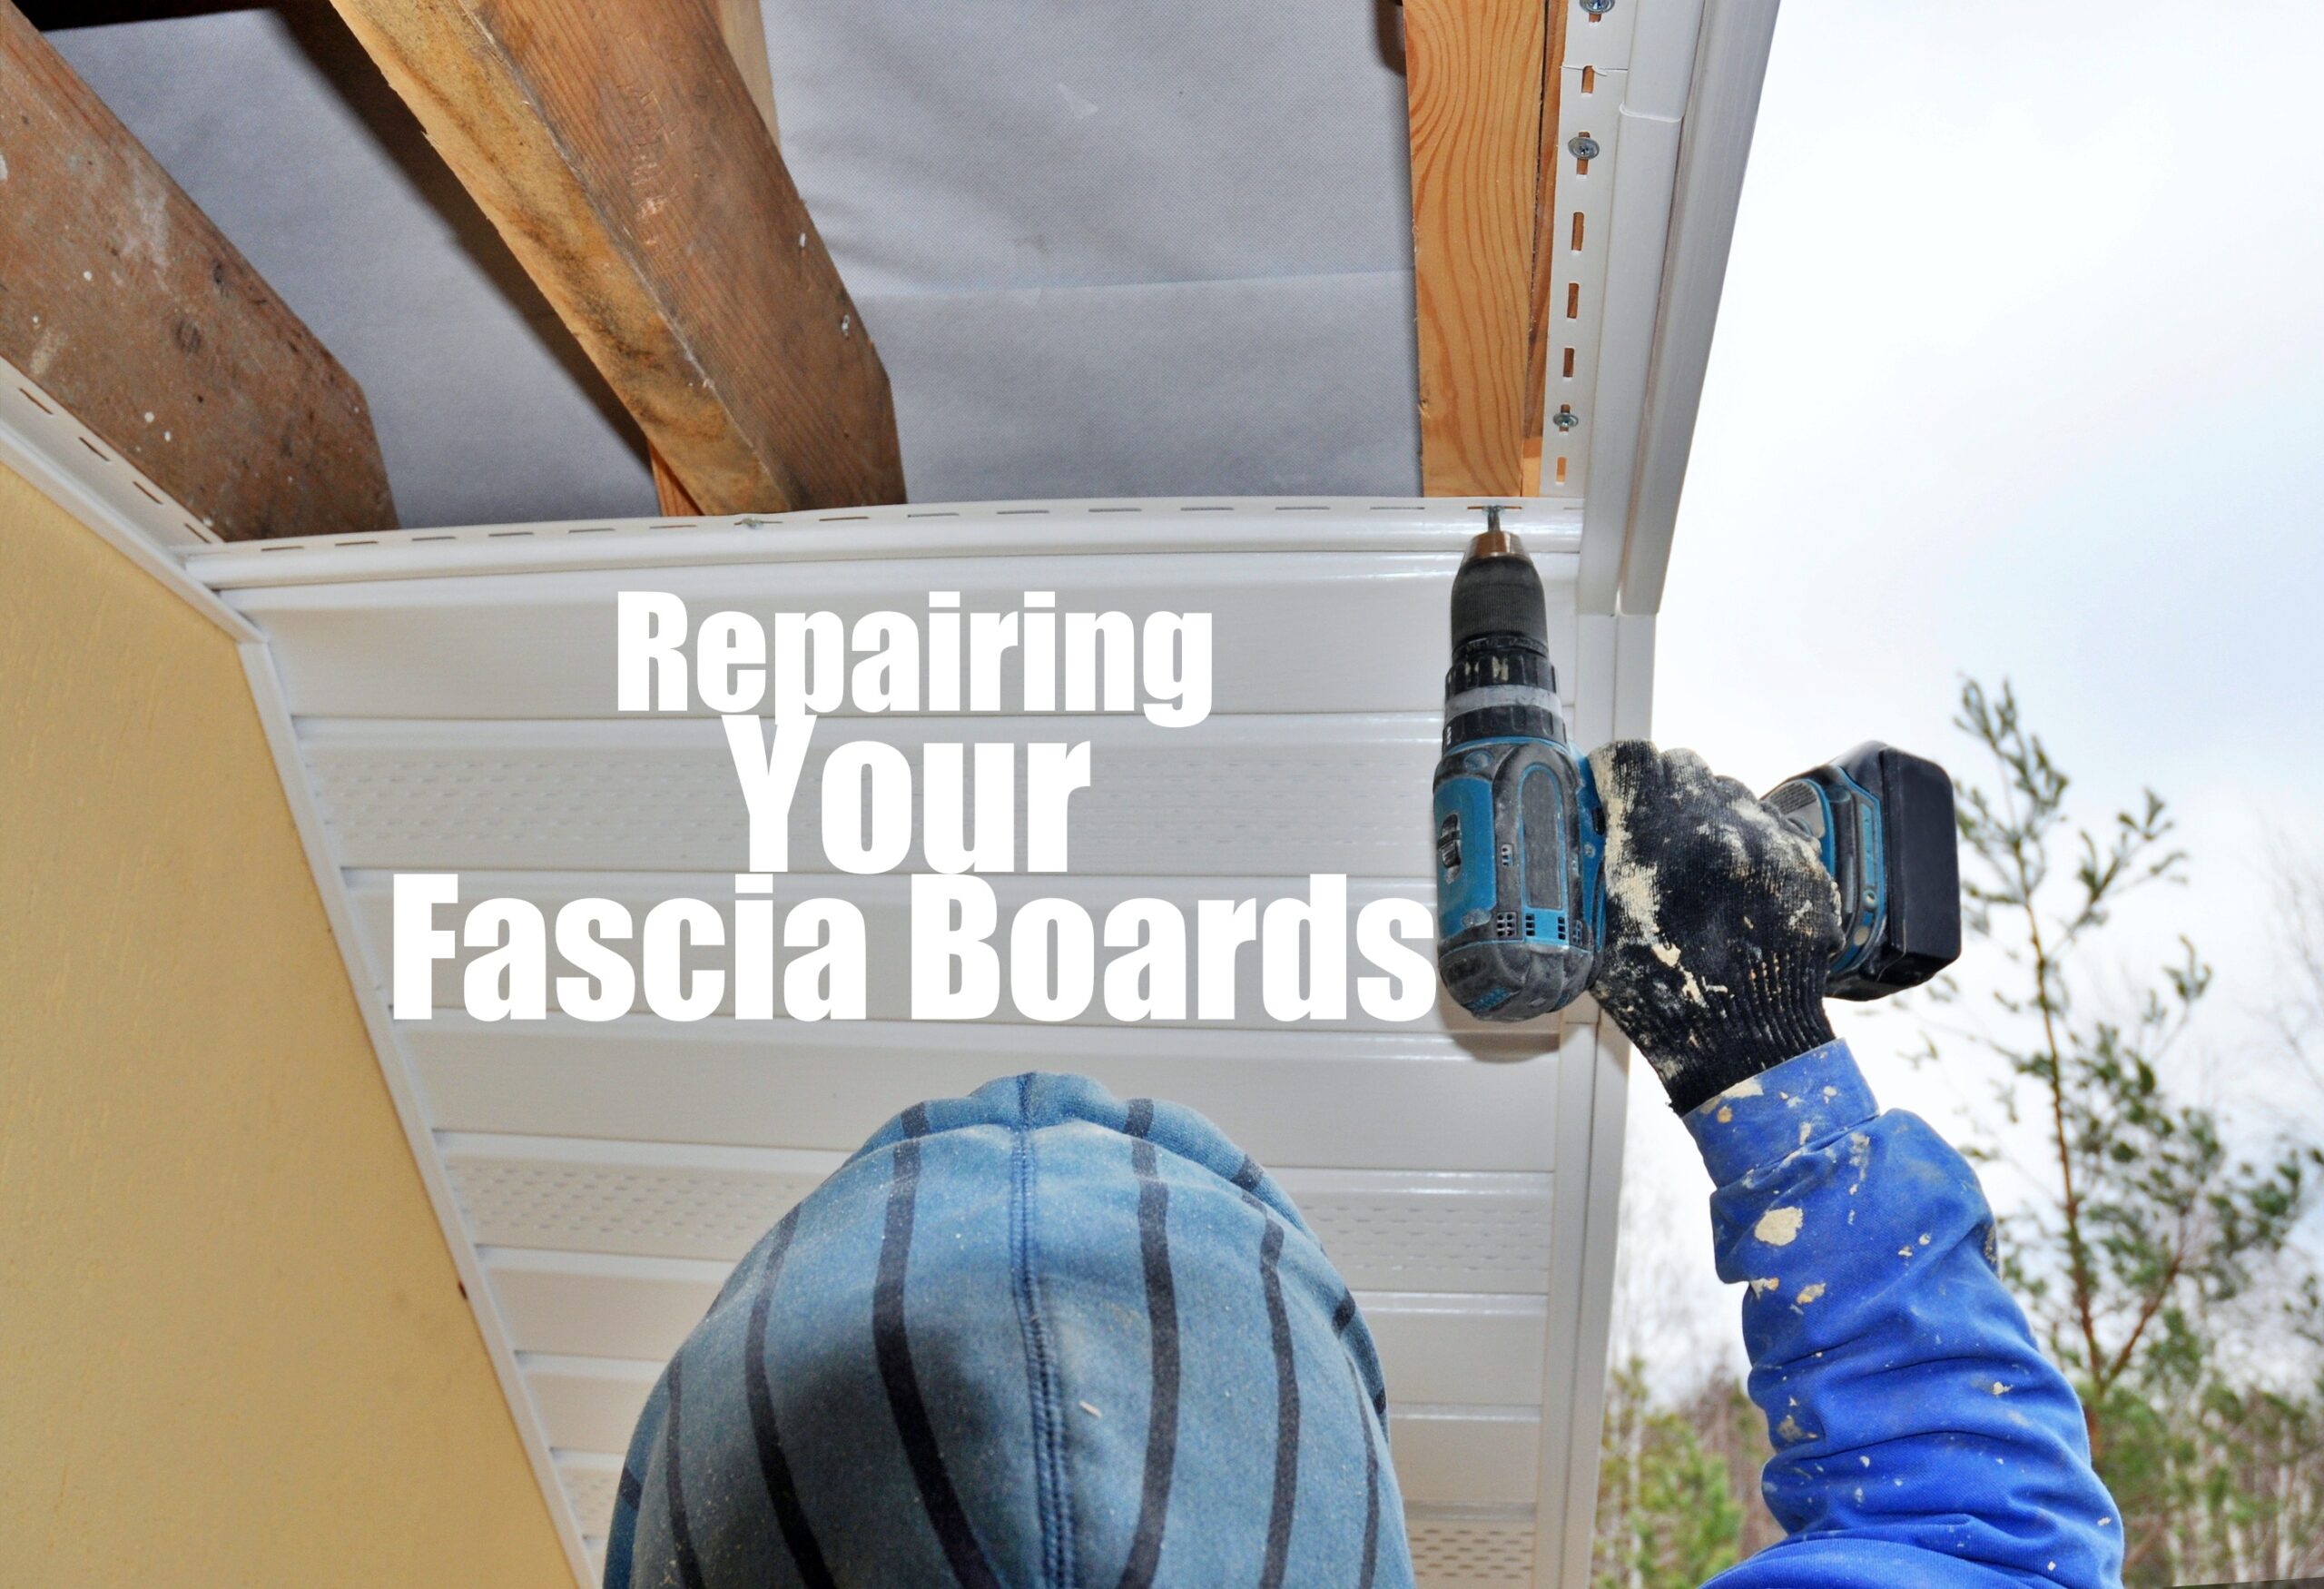
Repairing Your Fascia Boards
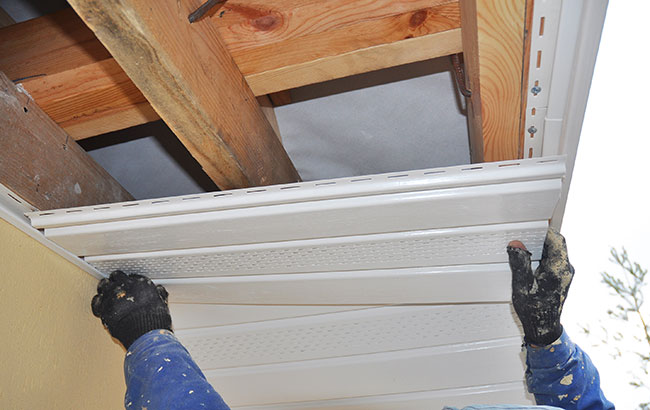
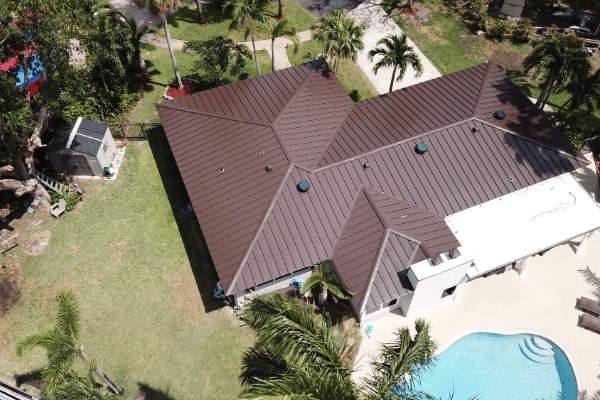
A fascia board is a long, straight board that runs horizontally under the lower edge of the roof. Fascias are composed of plastic or wooden boards. Its function is to hold the guttering, support the lower part of the bottom row of tiles and distribute the weight of the roof evenly. They also cover fittings to protect them from water. This functional roof piece is highly customizable so that you can match the aesthetic of the building.
It is of utmost importance to keep the structural integrity of your home stable — especially with all the harsh weather factors that come with living in the Florida climate. Storms, hurricane winds, and harsh debris will surely test your home and especially the integrity of your roof. Damage to even the strongest of fascias is inevitable, natural wear and tear occurs. Fascia boards are prone to rotting, especially if they are exposed to frequent rainfall. The good news is that repair is not troublesome.

Repairing Fascia Boards
If the fascia is rotted, you could repair the wood with polyester filler in the form of a wood hardener and filler. You would just need to remove all of the rotted wood with a sharp tool. After removal, coat the area with wood hardener and finish off with wood filler and press into area with a putty knife. However, this fix is only a temporary fix for fascias that are mildly rotted.
In most cases, the fascia needs to be replaced. An overview of this project is quite simple — all you need to do is remove the damaged fascia board, install a new board, seal the seams, and finish with a coat of paint.
Tools Needed:
- Replacement Fascia Board
- Work Gloves
- Ladder
- Electric Screwdriver
- Hammer
- Reciprocating Saw
- Circular/Miter Saw
- Safety Glasses
- 2 inch nails
- Bonding body filler putty
- Putty knife
- Outdoor primer
- Paint that matches the house or building
- Paintbrush
- Foam Roller
Step 1: Gutter Removal
To remove the rotted or damaged fascia board that you are replacing, you must first remove the gutters from behind that fascia. Unscrew the gutters with an electric screwdriver. Remove the gutter from the gutter brackets underneath the gutter and under the fascia. Set the gutter aside. Don’t forget to remove the gutter brackets attached to the old fascia so that you can attach them to the new fascia. Be careful to not damage the gutters upon removal.
Step 2: Make Cuts in the Board
Next, you want to make cuts in the old fascia board so that it is easier to remove. Make cuts every 3 feet by first measuring and marking cuts. Make vertical cuts in between the roof rafters, carefully making sure not to cut the rafters. It is safer and easier to remove the fascia in pieces. To remove each piece after the cuts have been made, use a hammer to gently knock the fascia board piece to loosen the nails. The force from the hammer should be going away from your home. It will either fall or you will have to gently pull it out. Be sure to stabilize yourself.

Step 3: Cut Through the Remaining Nails
Because some boards are connected to the roof from the top with nails, you must use an electric saw with a blade that has the ability to cut through nails. Saw through all the nails along the top seam of the board. This will give you a smooth, clean surface to attach the new fascia board.
Step 4: Measure and Cut the New Fascia Board
Next, with a tape measure, measure the length of the roof where you plan to install the new Fascia Board. With a circular saw, cut the board that is made for outside use. Wear safety glasses.
It is important that the ends of your boards connect with each other once fastened back up on the roof. If the fascia board replacements will wrap around the corner of the house, the only way they will fit together is if you miter the ends of the boards, or set the circular saw angle to 45 degrees. If the replacement does not wrap around a corner, regular vertical cuts with 90 degree ends are good.
Step 5: Installation
Next, measure the distance between your roof rafters. Most are spaced 12 inches, 16 inches, or 18 inches apart. Mark the newly cut boards where the roof rafters meet the board so that you indicate where you will hammer in the nails later. For example, if your rafters are spaced 12 inches apart, then make a mark every 12 inches on the fascia board.
Now it is finally time for installation. Hold the board tightly in place and secure it with 1 to 2 nails that are 2 inches long. Ensure that each end of the board is secured into a rafter so they don’t break the seal. It is easier to have someone hold the other end while you hammer the nails in place to make sure it is tightly in place and even.
Step 6: Bonding and Painting
To prevent water from getting in between the seams, use a bonding body filler to integrate the sections together. Reinforce the bond by applying 2-3 coats, pushing the putty into the crack each time. Cover the nails with putty as well to complete the seal of the wood and then wait at least 24 hours for the putty to fully set.
Lastly, paint the brand new fascia board that you just installed with a color that matches your house or building. Start by painting 1-2 coats of primer on the board and let dry for at least 6 hours before painting. Then apply a layer of protective outdoor paint to make your new fascias last. Once completely dry, finish with a few layers of paint to match your house or building. Don’t skip congratulating yourself on your hard work.
Professional Roofing Help in South Florida
Although this project is doable, it does require time, effort, and some handyman abilities. Here at Tornado Roofing and Contracting we can help you maintain and repair your roof at a low cost. Let us help you protect your home.

