
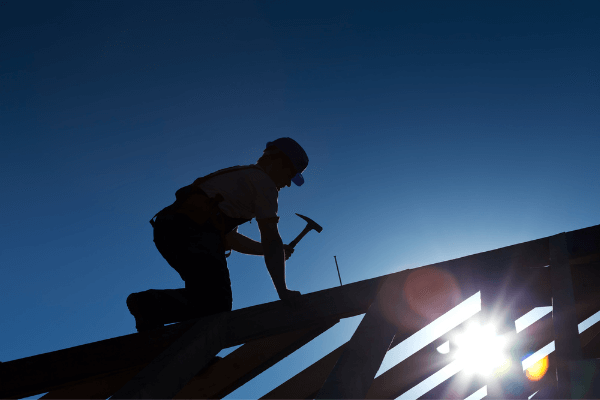
When your roof is not in a condition to protect the interior from elements, then ideally it should be repaired or replaced. But you might not have the money to fund a roof repair or roof replacement project right away, or even time to do the project. That’s perhaps the reason you are considering to tarp it. Proper tarping protects the interior of your home from damaging elements for a while as you ready yourself to tackle the cracks, missing shingles, punctures, and or any other roof weaknesses. For a while, you will also be preventing further damage to your roof.
At Tornado Roofing, we’ve received calls before or after a storm to give a temporary solution for a damaged roof. Tarping often makes sense in most situations because it keeps your home dry as you prepare to repair or replace your your leaky roof. So what goes into the process of tarping a roof?
Table of Contents
Tools and Materials You Need to Tarp Your Roof
Just like any other roofing project, to successfully tarp, your roof requires tools and materials. This project needs the following materials at a minimum for a professional roofing contractor to handle:
- A drill
- A hammer
- Tarp(s)
- Studs
- Cap Nails
- A Ladder
- A tape measure
- A pair of boots
- Thick gloves
- A torch
- Protective eyeglasses
- 2 by 4 Boards
- Screws

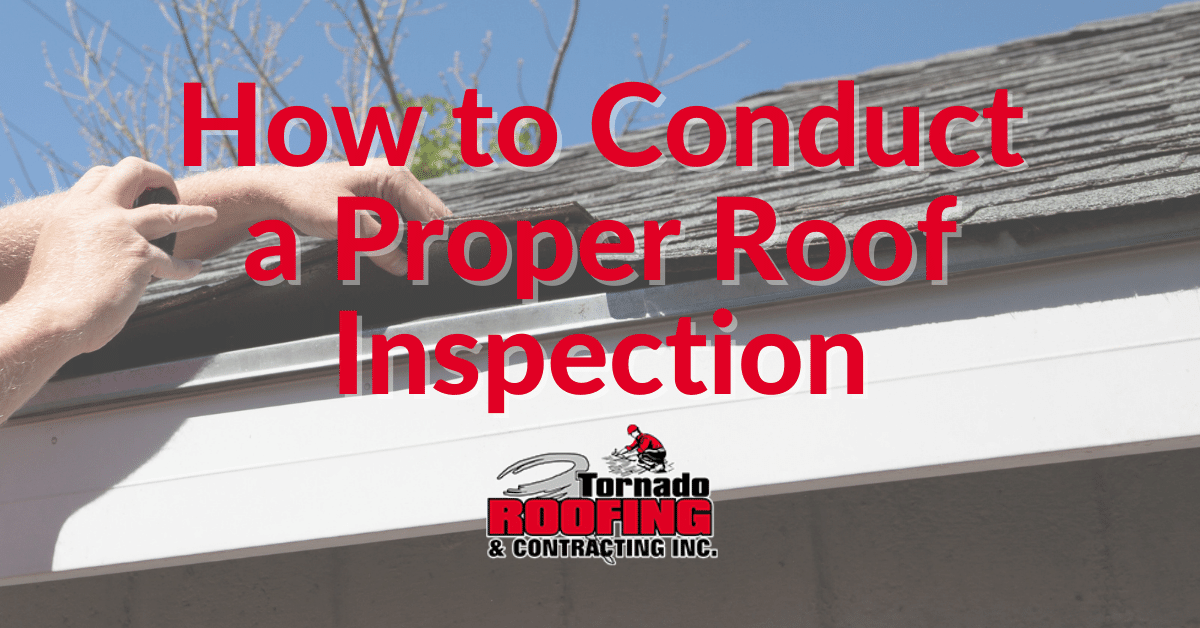
Step 1: Assess the Roof Damage
Start your assessment from the attic with your torch. Look for water stains or light coming in through the roof to get an idea of where the problem is. This could be several places on your roof. Then use your ladder to climb up the roof so you can assess the roof condition. It’s safer to examine the roof from your ladder to avoid falling off. As you do this, take lots of photos of the damaged sections of your roof; from within the attic and outside as well. You’ll use these for insurance claims.
Measure the extent of the roof damage using your tape measure. Move closer to the damaged area of the roof, then carefully kneel close to it and measure. Take the exact dimension on each side of the damage. This helps you determine the size of tarp you’ll need. If your roof is too steep, you should just call a roofing expert to do the job rather than risk climbing up on it. Also don’t work on a wet roof.
Step 2: Buy the Right Tarp
Tarps come in varied sizes and colors. So because you have the damage measurements, choose a tarp with a size that’s larger than the damaged area. Some people go for tarps that can cover most parts of the roof, but choosing the right fit for the damaged part is better. If possible find a vendor that customizes tarps for specific needs. Then instruct them to make a tarp that is capable of covering the problem spots, leaving three feet of the excess tarp around the damaged area. Consulting with a professional roofer or tarp vendor will also help you make the right choice here. You might also want to consider the color of the tarp and its thickness.
Step 3: Cover the Holes in the Roof
If your roof is badly damaged and has big holes, use plywood to cover these potholes. Secure this sheet of wood using screws. Doing this prevents creating pools of water after you’ve installed your tarp.
Step 3: Cover the Holes in the Roof
If your roof is badly damaged and has big holes, use plywood to cover these potholes. Secure this sheet of wood using screws. Doing this prevents creating pools of water after you’ve installed your tarp.
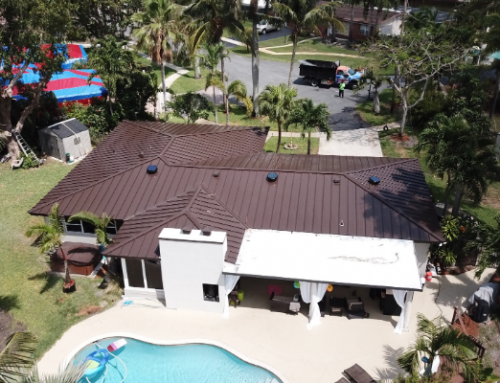
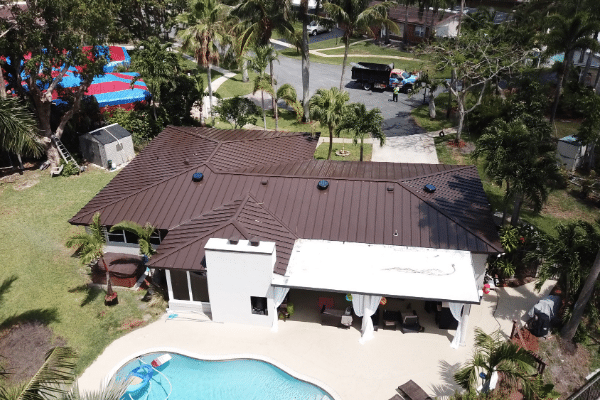
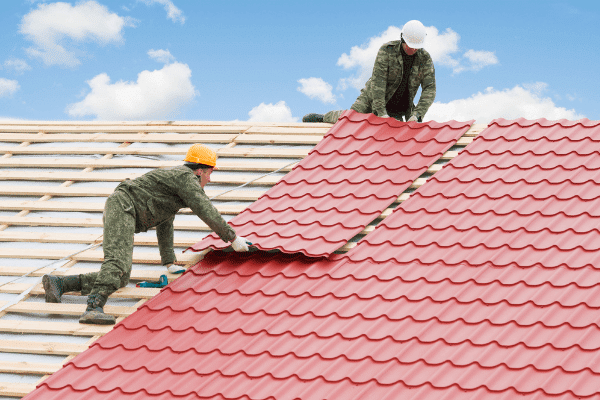
Tornado Roofing Your Best Florida Roofing Company
Regardless of the metal roofing system you choose, you want it to be installed properly by an expert roofer. That way, you enjoy the full value of your investment. At Tornado Roofing, we give free quotations on roofs for all types of buildings and do the best installation to achieve durable and visually pleasing results. If you need to install a metal roof on your home or business premises in Florida, reach out to us.


